Tips for taking better photos: Understand Your Light
Shaping light to make your dishes look more flattering and how to create a Bright vs. a Moody feel
I remember a trip with my family in which my mum was convinced my phone was much better than hers until she saw she had the latest model, not me. “Your photos look much nicer than mine!”. Well, I don’t want to brag but it’s not the phone, it’s the photographer.
Now seriously, my eye was much more trained to find the right light in the space and to use it to my advantage. Maybe she was just pressing click at any given time but I was purposely finding angles, avoiding reflections, looking for nice backgrounds… In my last newsletter about food photography (there’s a new one each month!) I mentioned something that sounds strange but it’s so true: you don’t take a photo, you make it. Every conscious decision involved has led to create that one specific shot.
In the food photography world you often do much more than that because you also style the scene, choose the color palette to complement your subject (the food you are photographing) and make everything look just right and delicious. But today I am not going to talk about composition but about something more basic yet powerful: how to find the natural light around you so you can know where and when to take (and make) those nice photos of your dishes. Even if it’s just with your phone camera.
Find your light
Bea Lubas, a Polish food photographer based in London that I admire says in her book How to Photograph Food (2020):
Light is the beating heart of every image. There are no great photos without highlights and shadows interacting playfully together around the subject. It’s the highlights that our eyes are drawn to first, but it’s the shadows that shape the light and direct our attention to the brighter parts. It’s this play of light and shadow that ads depth and dimension to an image, without which even the most beautiful food will appear flat and lifeless.
So we need to find our light and learn how to use it. Now, this is easy because if you have a window, you have light. For food photography it’s really important to try to avoid ceiling lights and floor lamps. I am not talking about the very expensive and professional strobes that some photographers use instead of natural light. Those are fine as long as you know how to use them (and can afford them). I am talking about the artificial lights we have at home or in stores.
If it’s too dark outside to take the photo without turning on the ceiling lights, it’s a sign not to take it (or take it! But it won’t look nice…). The problem is that food looks very unnatural with the orange tint that home lights tend to have. Also, ceiling lights illuminate everything from above, which means your food will lack definition as there won’t be any shadows.
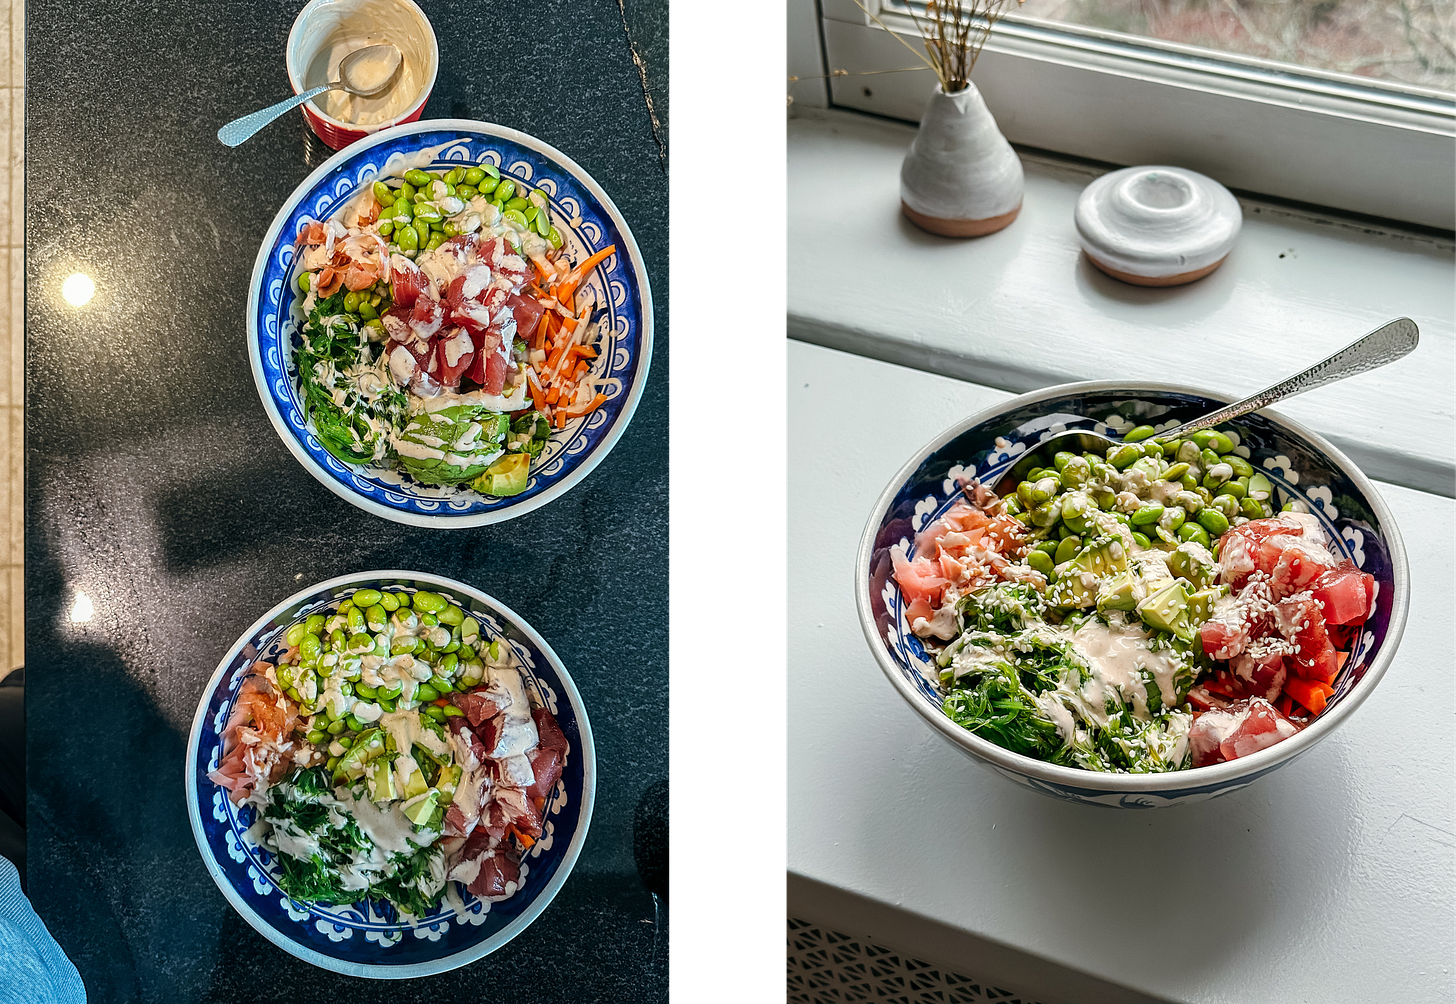
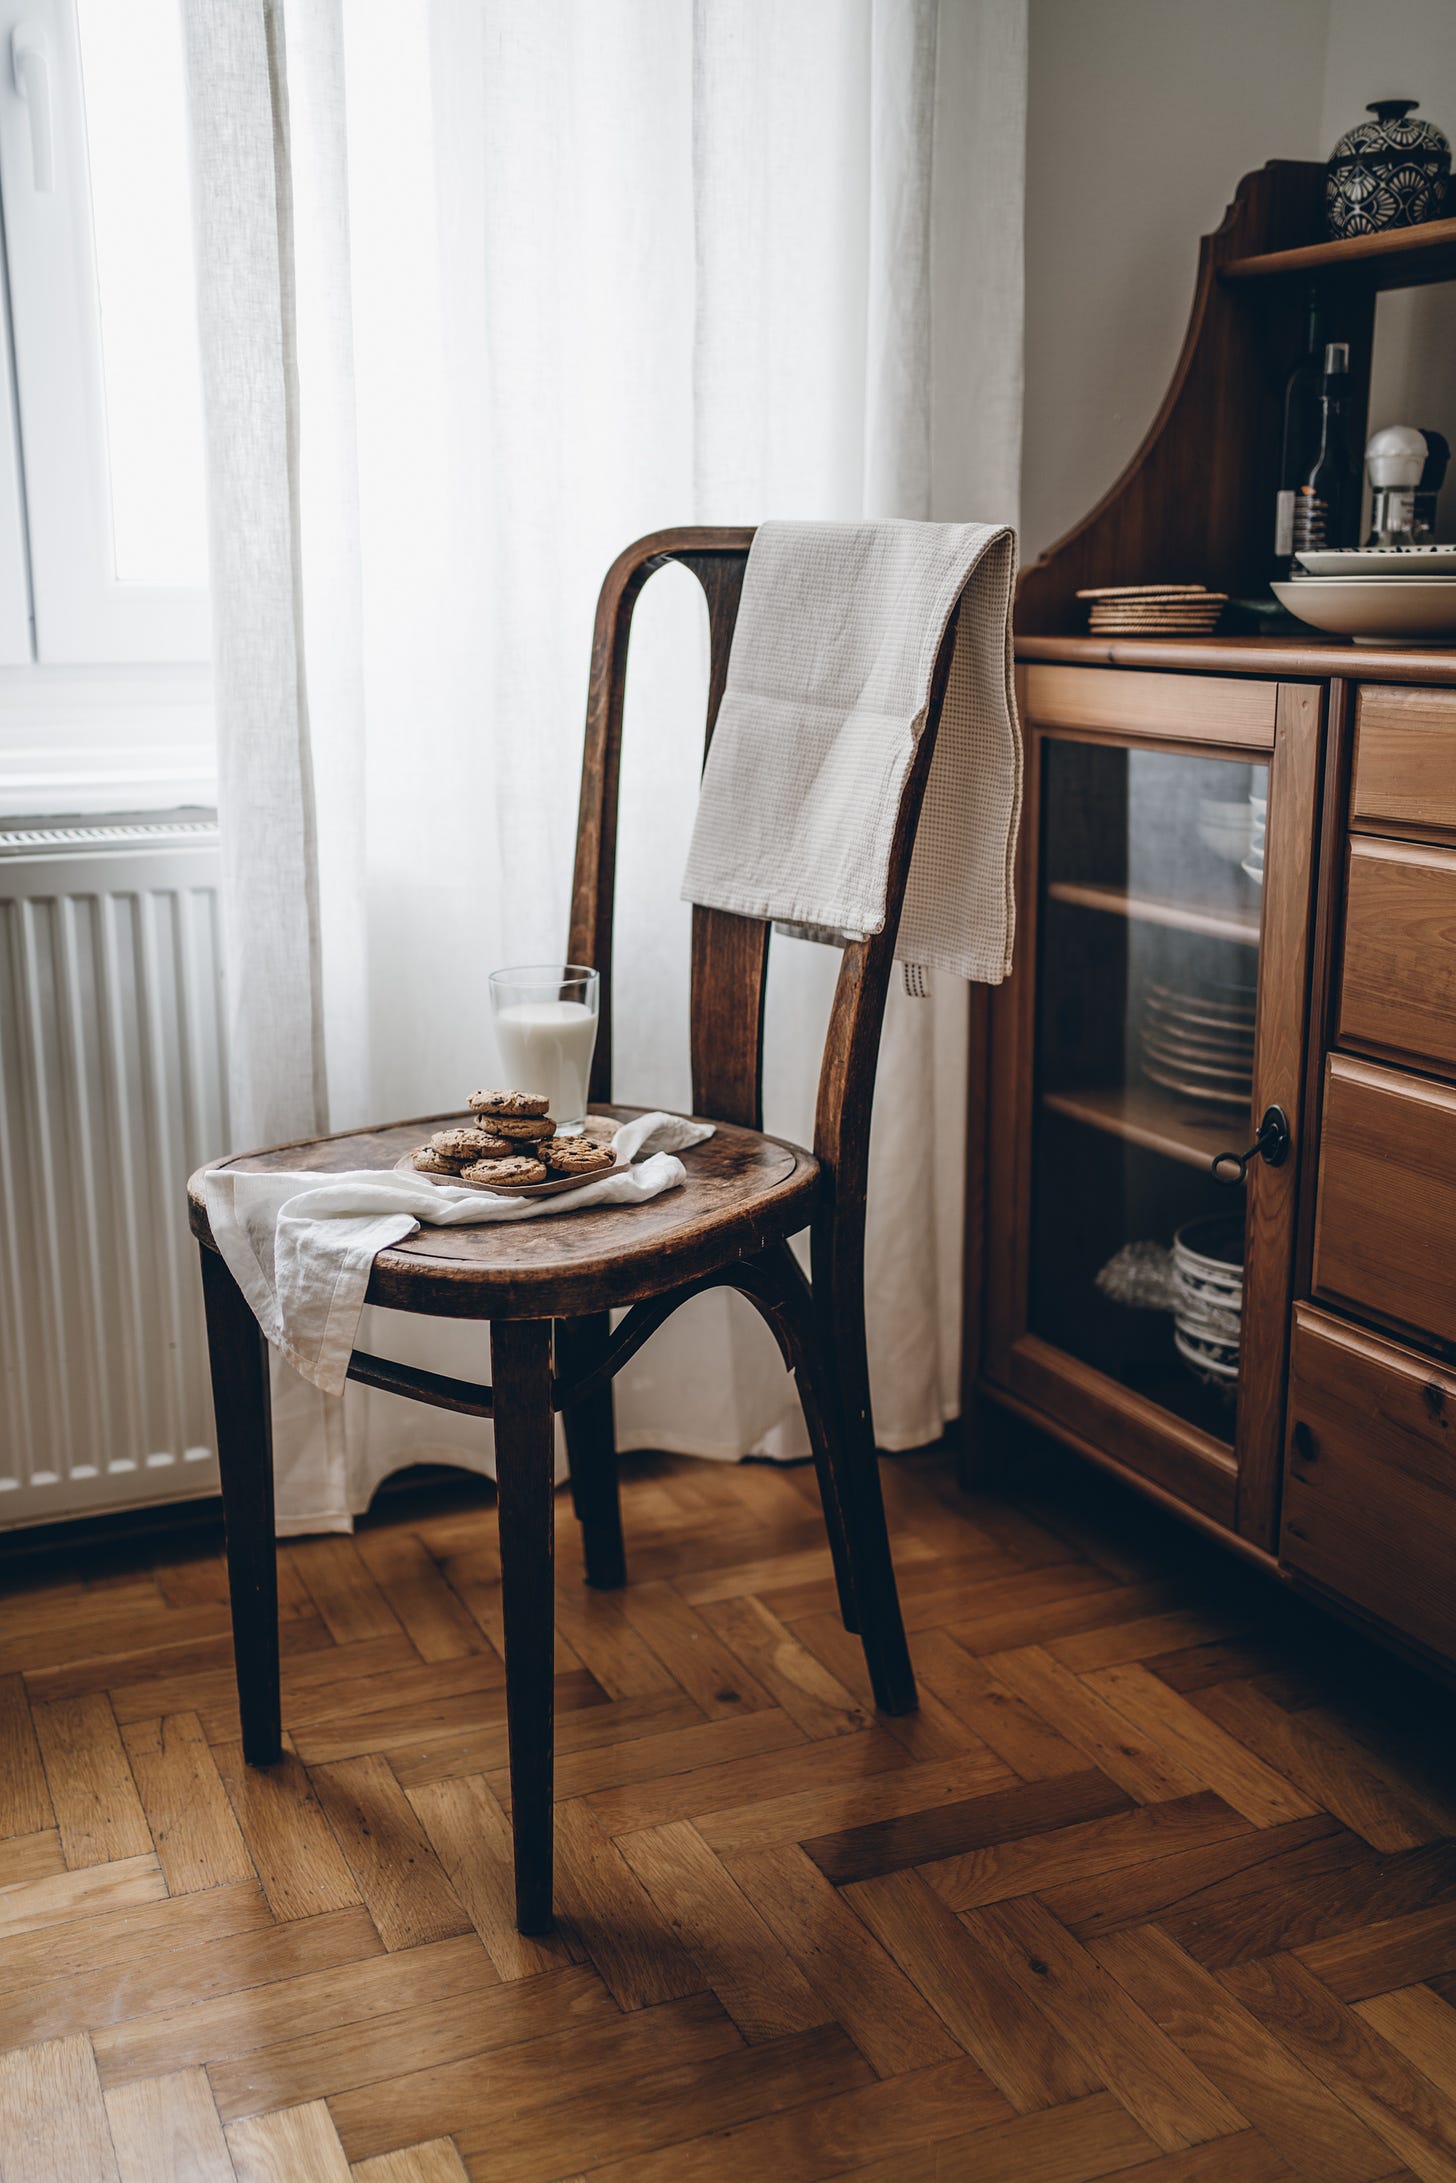
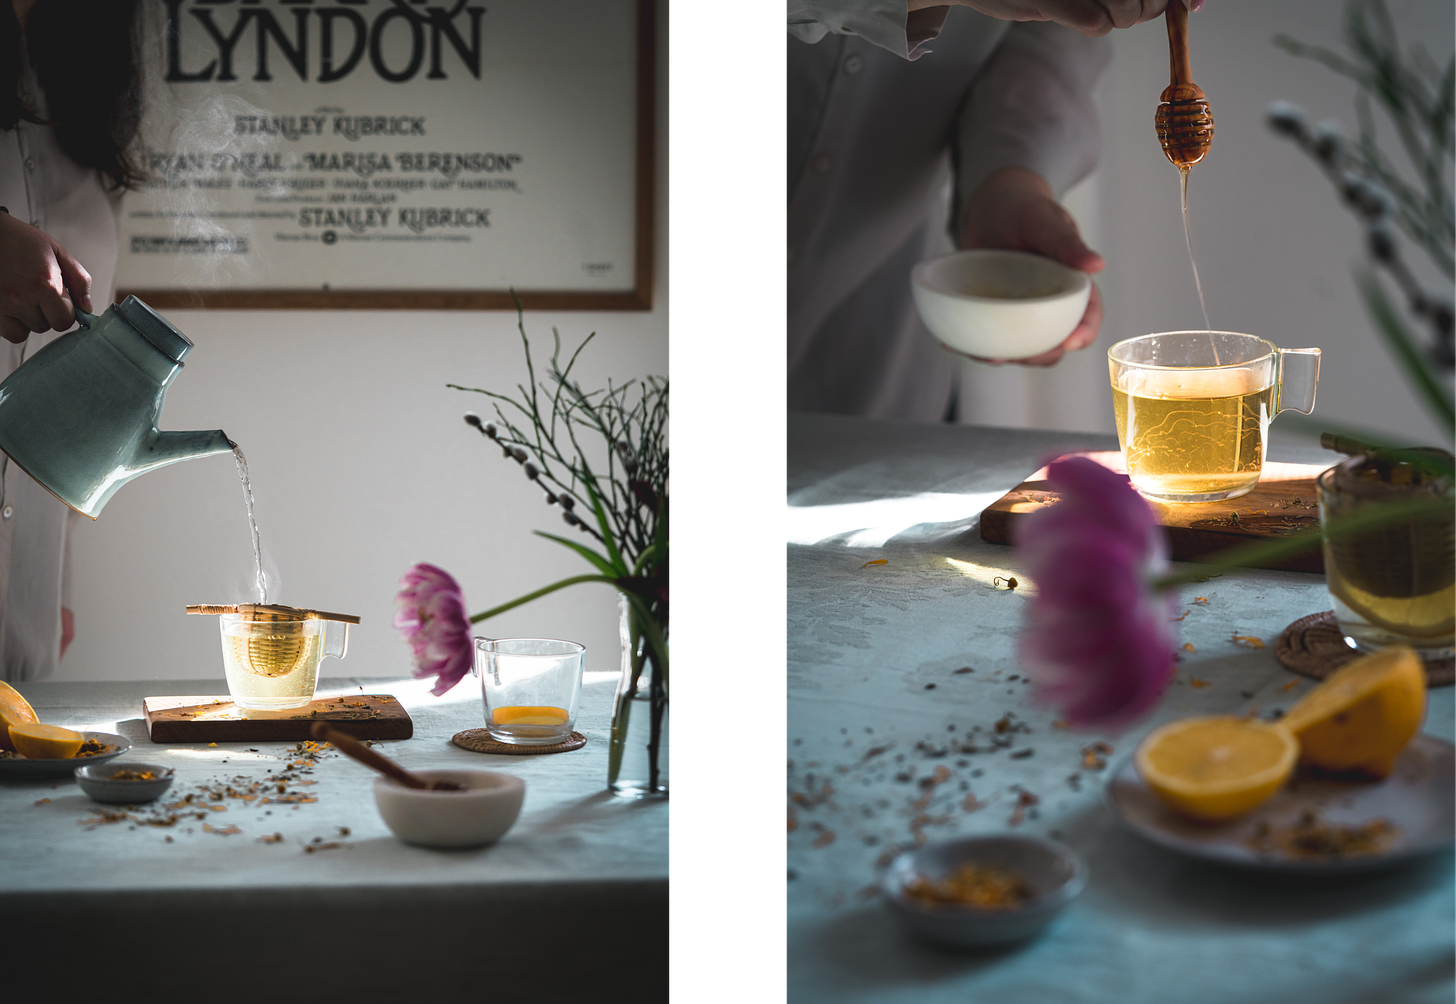
As Bea says, you need highlights and shadows and this is better achieved when you use one light source from the side (a window is perfect). Once you have your window and every ceiling light turned off, you need to assess the light in the room. Just take a piece of fruit and position yourself next to the window. Observe how the light impacts the fruit and if it shapes any shadows. If so, it’s great. You have a balanced light to work with. If you cannot see any shadows at all it could be because there’s too much light (perhaps you have multiple windows, then you should cover all but the one you want to use).
The time of the day and year also impact the shadows. The lower the angle of the sun, the longer the shadows. Just observe how light changes during the day, or if you are in the street, look at the shadows you create while walking.
The weather influences the light of the space greatly as well. It will be hard and intense on a sunny day, casting strong shadows; and soft on an overcast day. For food, diffused light is the one that will make your dishes look the most natural. This means that clouds are your friends as they naturally do that. If it’s a very sunny day, don’t be upset! You can still diffuse the light by blocking the window partially with sheer curtains or even a cheesecloth. Hard light can also be a lot of fun to play with though!
The direction of the light
As I mentioned, too much light is not ideal for our purpose. If you are in a room with lots of windows that bring light from different directions, you will lose all your shadows when you try to photograph that cappuccino. If it’s your own home, you can go and pull all curtains but one. But if you are in a café, for example, you won’t be able to do that. So try to find ways to block some light. It can be with your own body, with a sign that’s on the table or by putting the coffee next to a plant that only lets some light in (maybe the perfect amount to illuminate your beverage!).
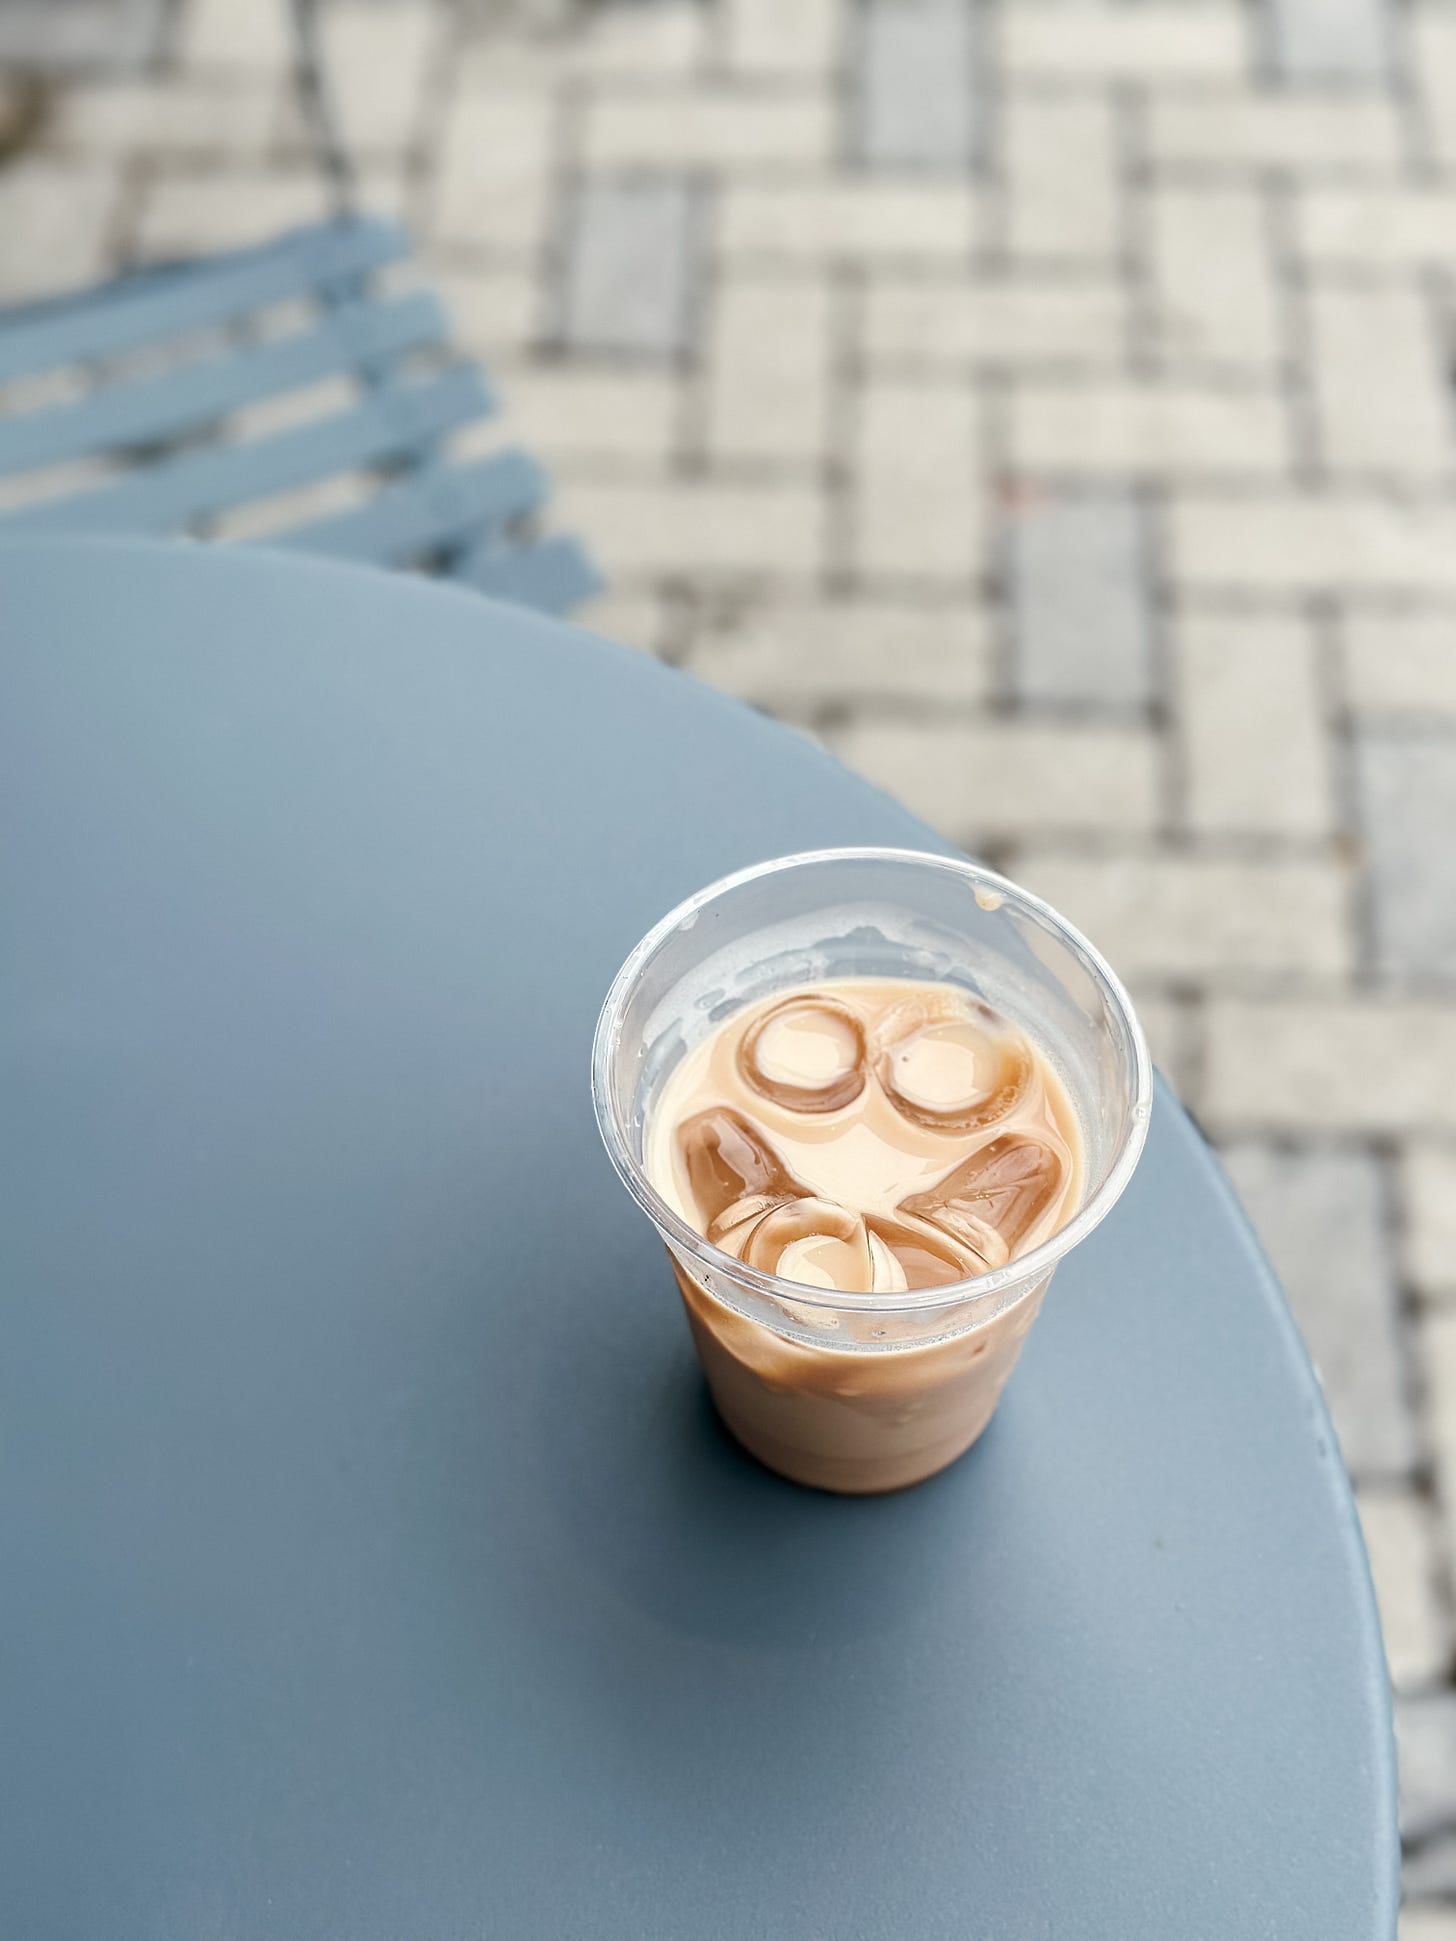
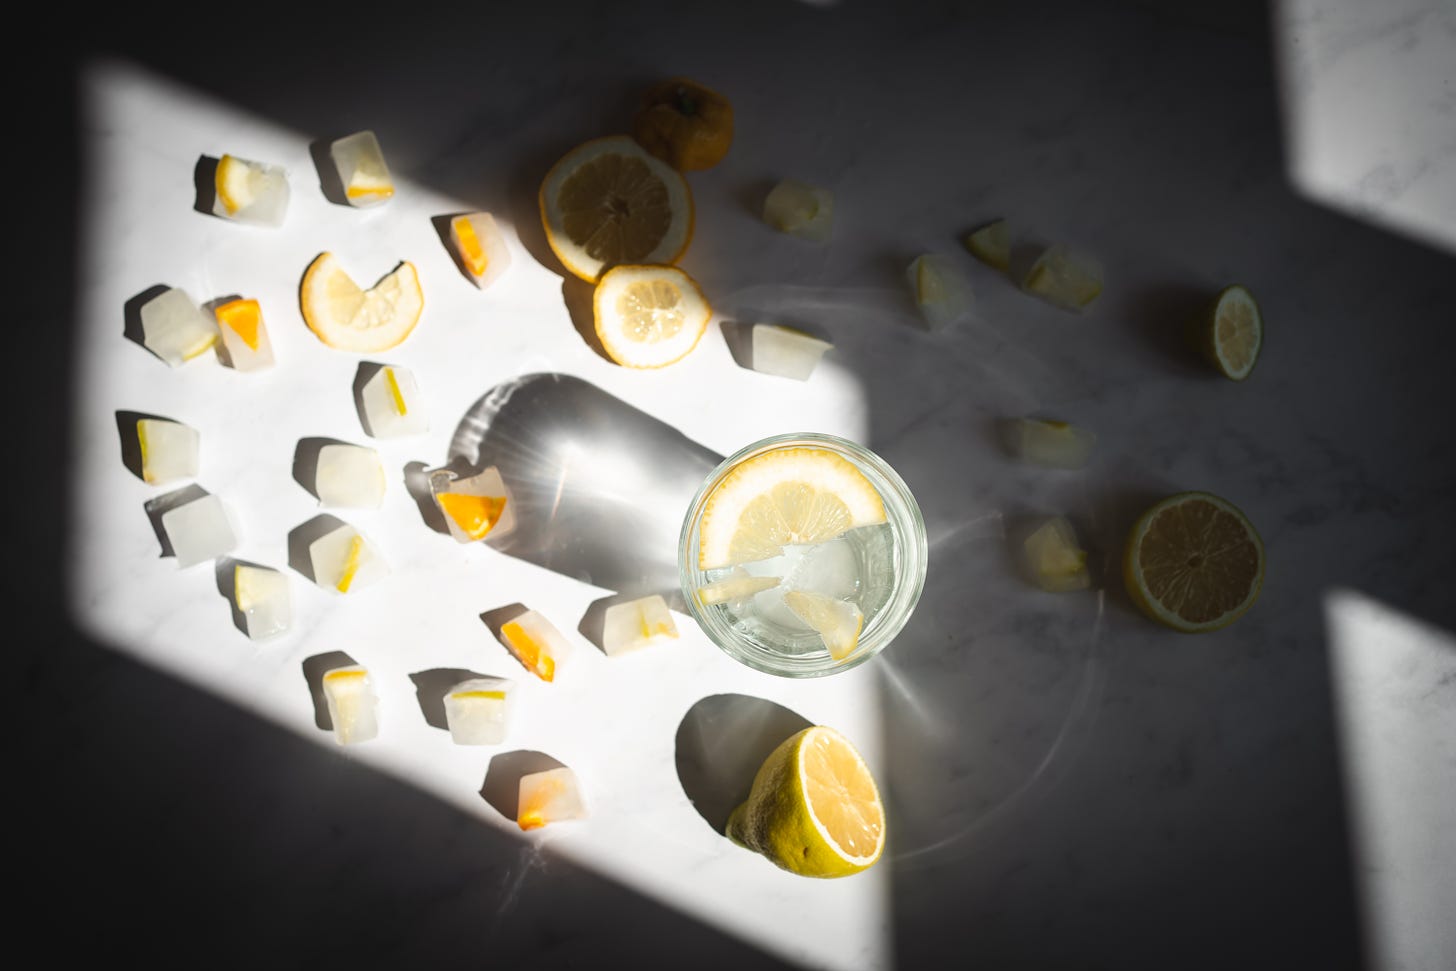
Perfect scenario is to have a window that gets light in from the side. Then you can choose from where to take the photo. Observe your food subject and see which parts of it catch your eye first. Most food benefits from highlights that come from one side and shadows that are cast on the other. But in some situations (specially with see-through liquids) using backlight will make the subject glow. Backlight is when you are positioned on the opposite side of the light source so when you take the photo, the subject is illuminated from behind. With most dishes it will not work because it will cast big shadows in front of you so you may lose the precious highlights. But I recommend you to try!
Shaping the light
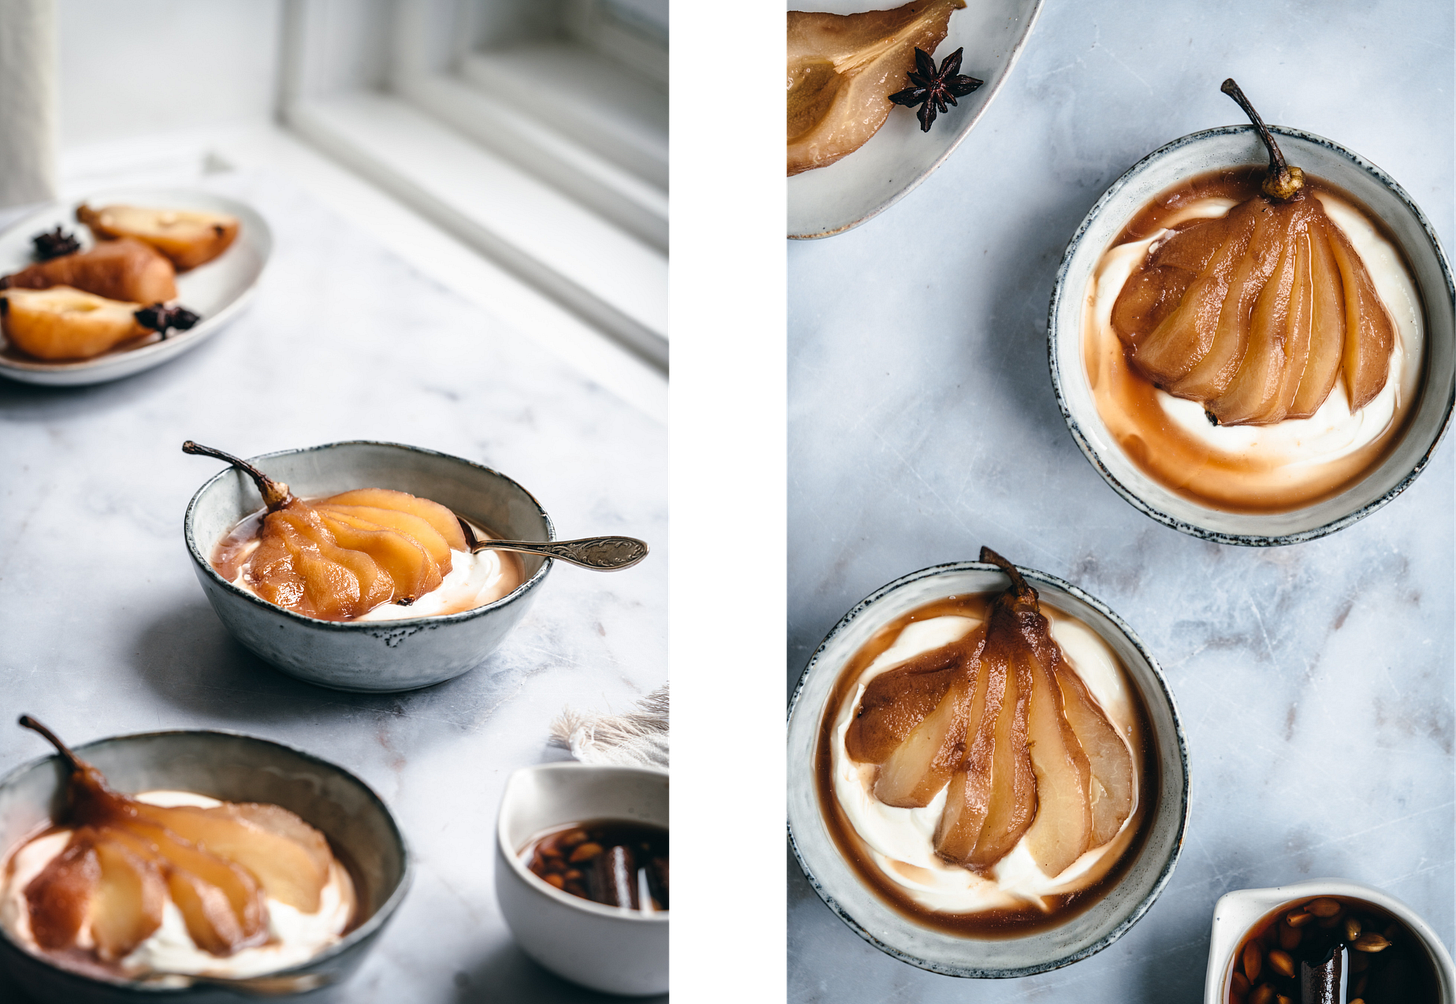
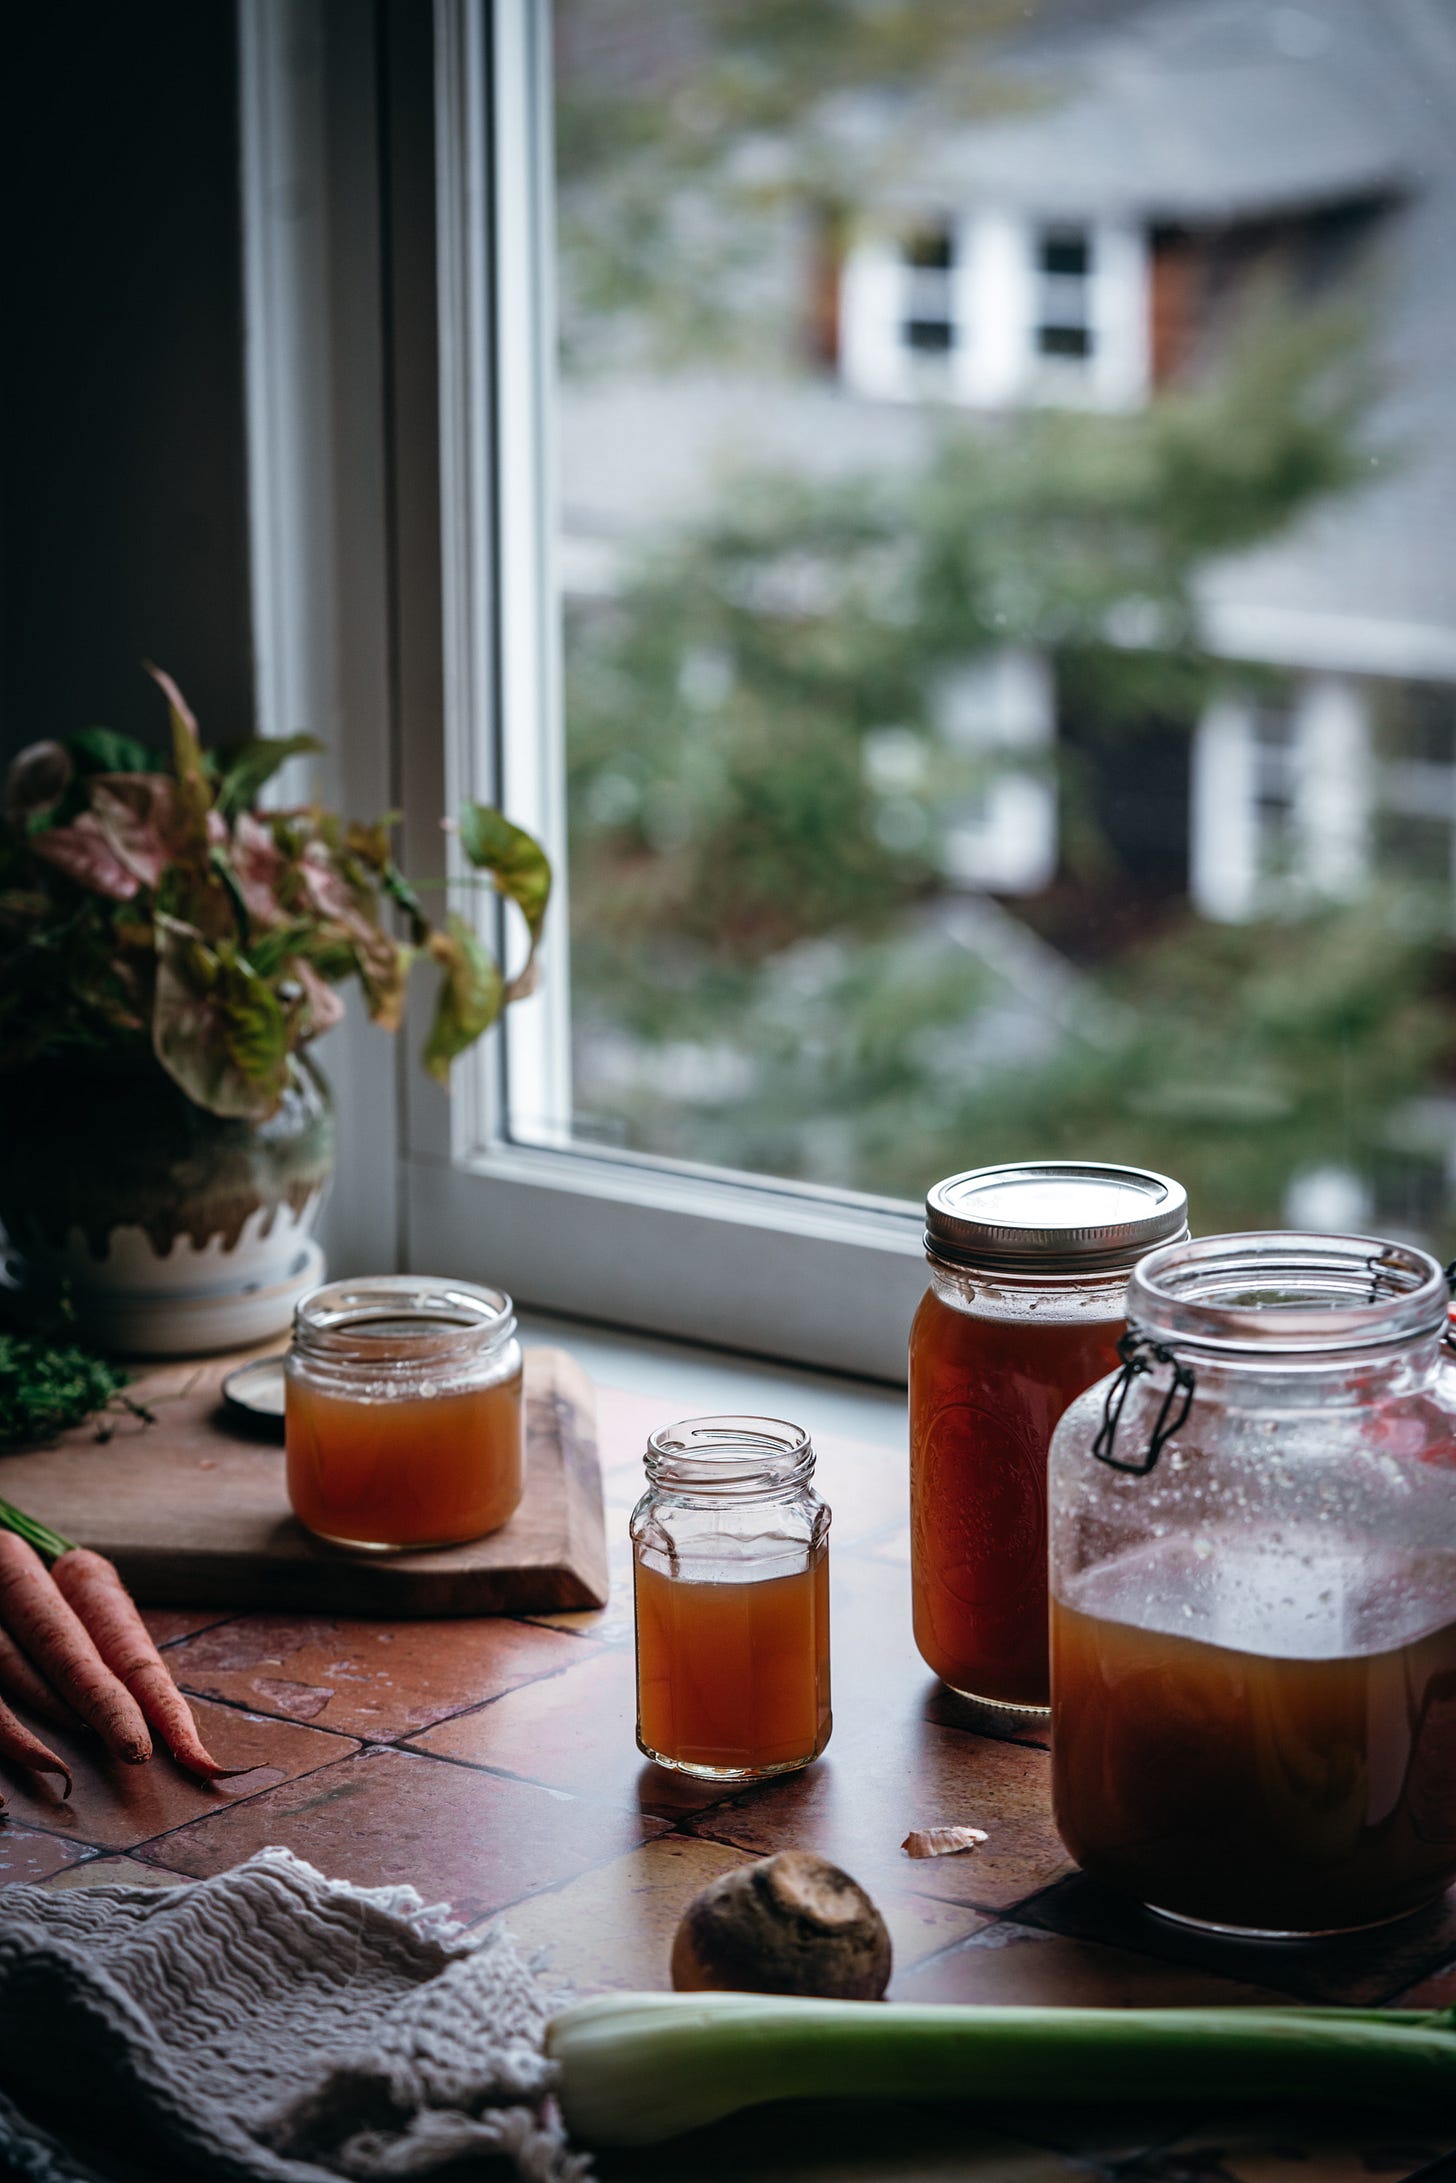
“Bright and airy” and “dark and moody” are expressions that someone must have created once but are now food-photographers’ lingo. They refer to the different feel the image brings to the viewer. Does the cappuccino look like it’s in a bright room or in a dark and cozy space? And how do you want to capture it?
Remember, bright doesn’t mean all windows open and dark doesn’t mean nighttime. It’s a sensation created with the shaping of the natural light.
I already talked about diffusing the light if it’s too strong and you want a soft feel instead. You can do this with a sheer curtain, a diffuser or another semi-transparent material you may find. Or simply, wait for a cloud to pass by. Now, let’s see other ways to shape the light to your advantage:
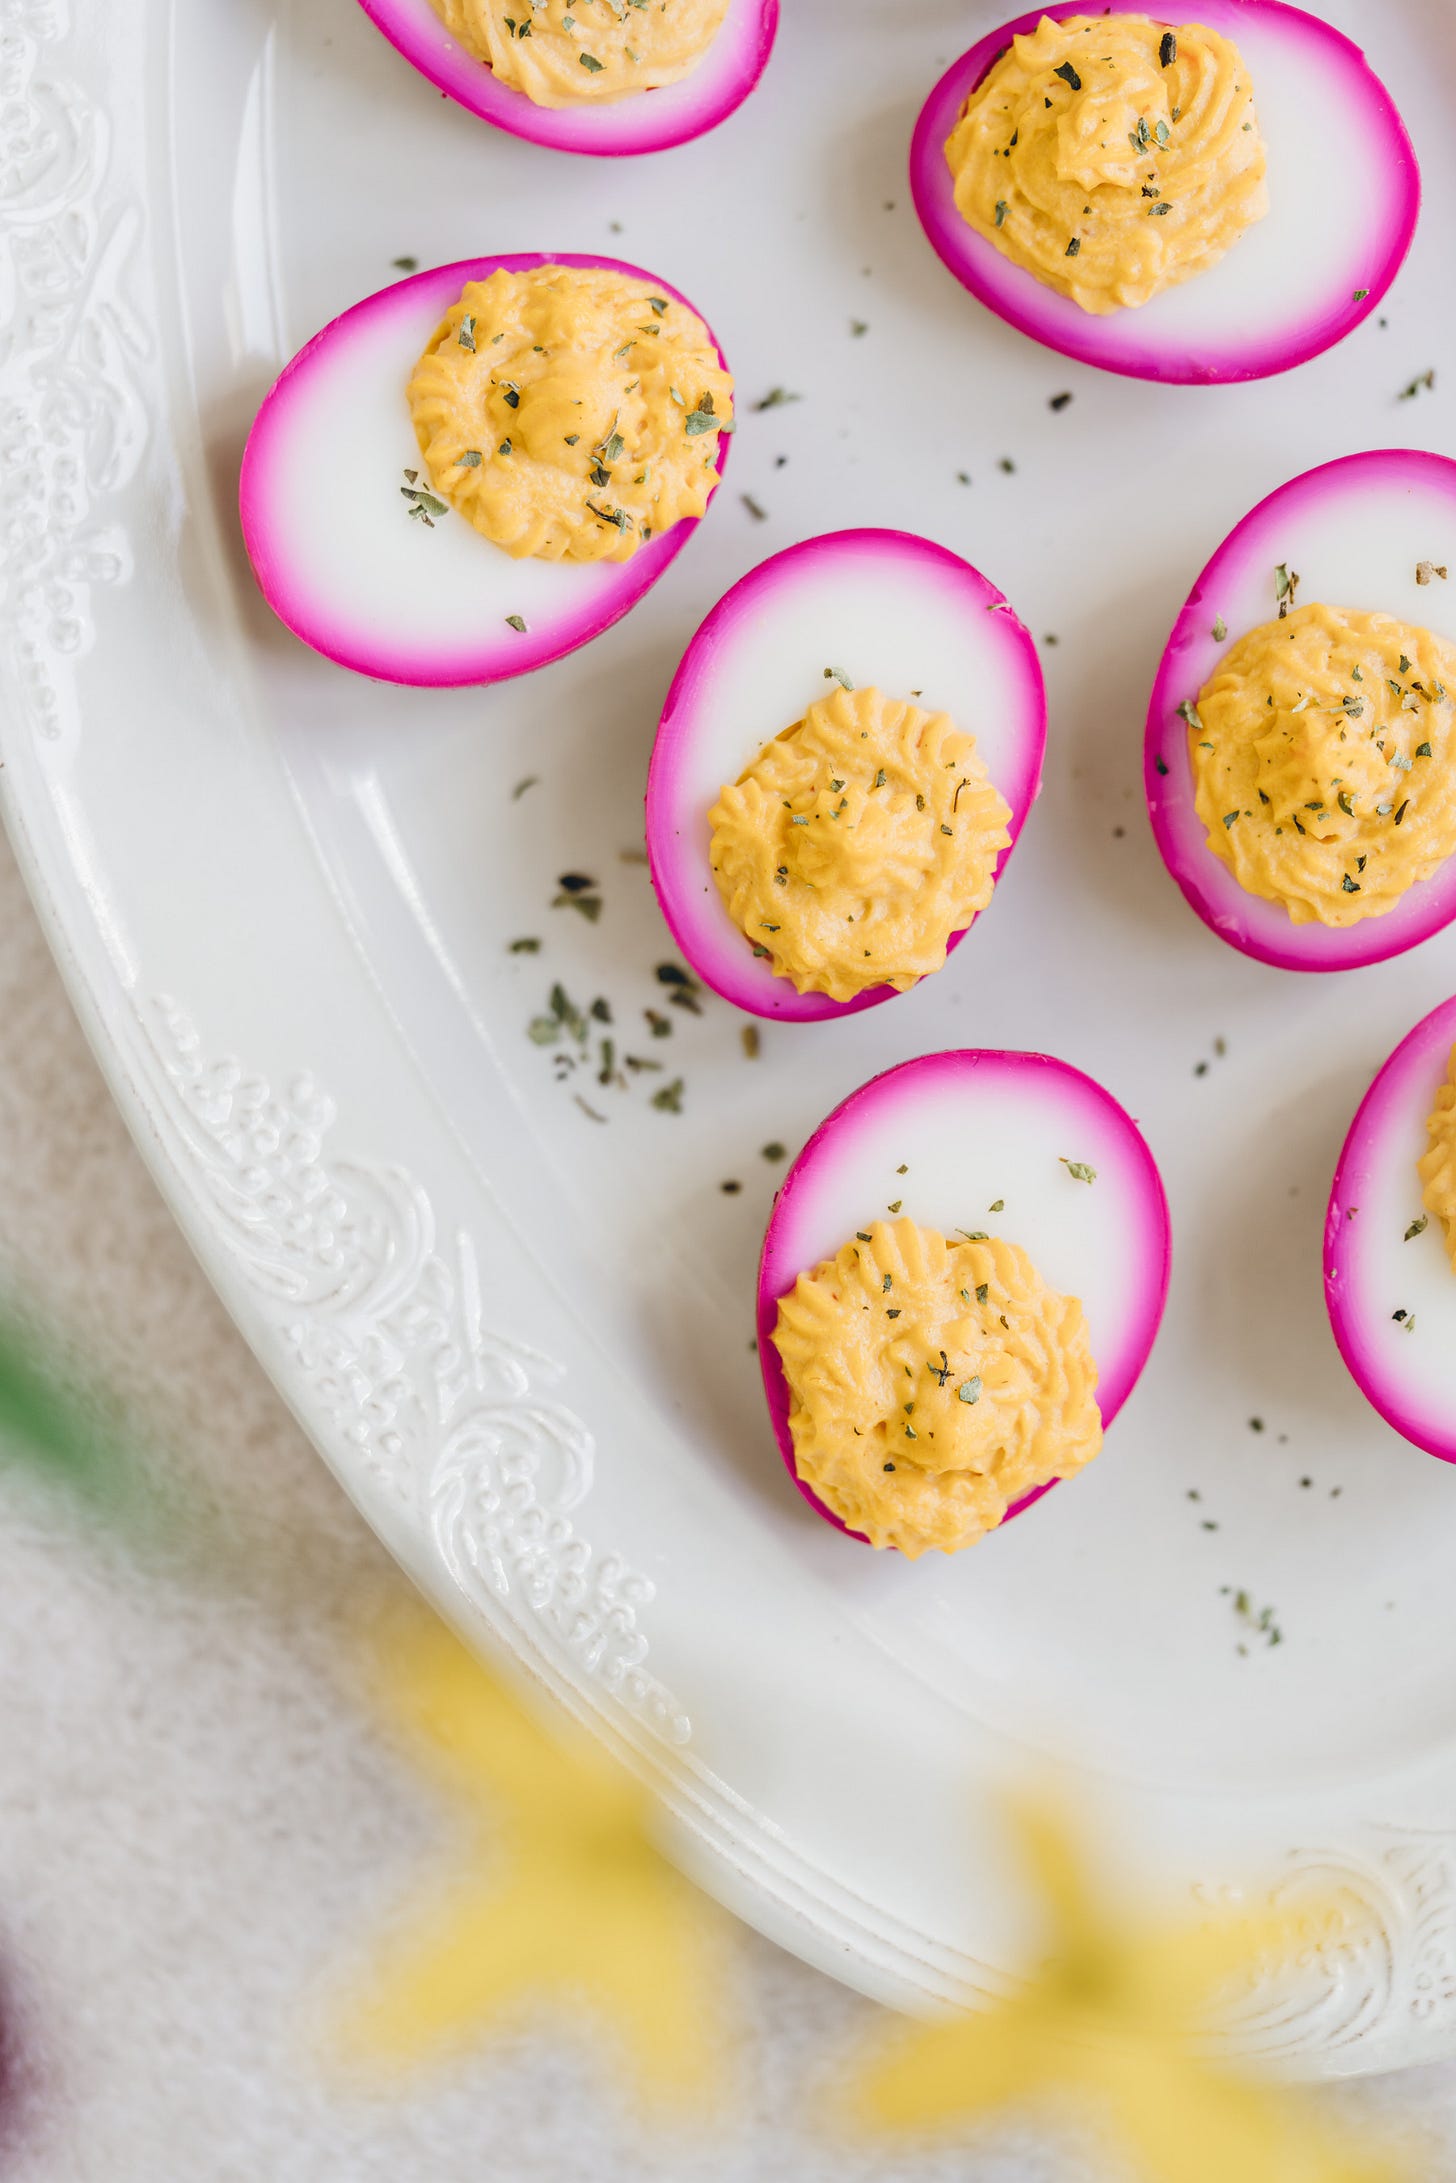
Bright and airy
To create this bright feel apart from diffusing the light you need to reduce some of the shadows. Not all of them! We still want definition, but a trick is to place a reflector on the opposite side of the light source to bounce light back onto your subject. All types of white or shiny surfaces will work as a reflector. I like matt foam boards, but anything may work! Also, be mindful of what you are wearing as the color of your shirt may also impact the color of the image. If you are wearing a black dress you will be blocking light with your presence (don’t take it personally…).
White walls also bounce light and open up the shadows. And you may want to choose a surface that doesn’t feel heavy (like a dark wood table) but light (think marble, a light tablecloth or a linen dress).
Dark and moody
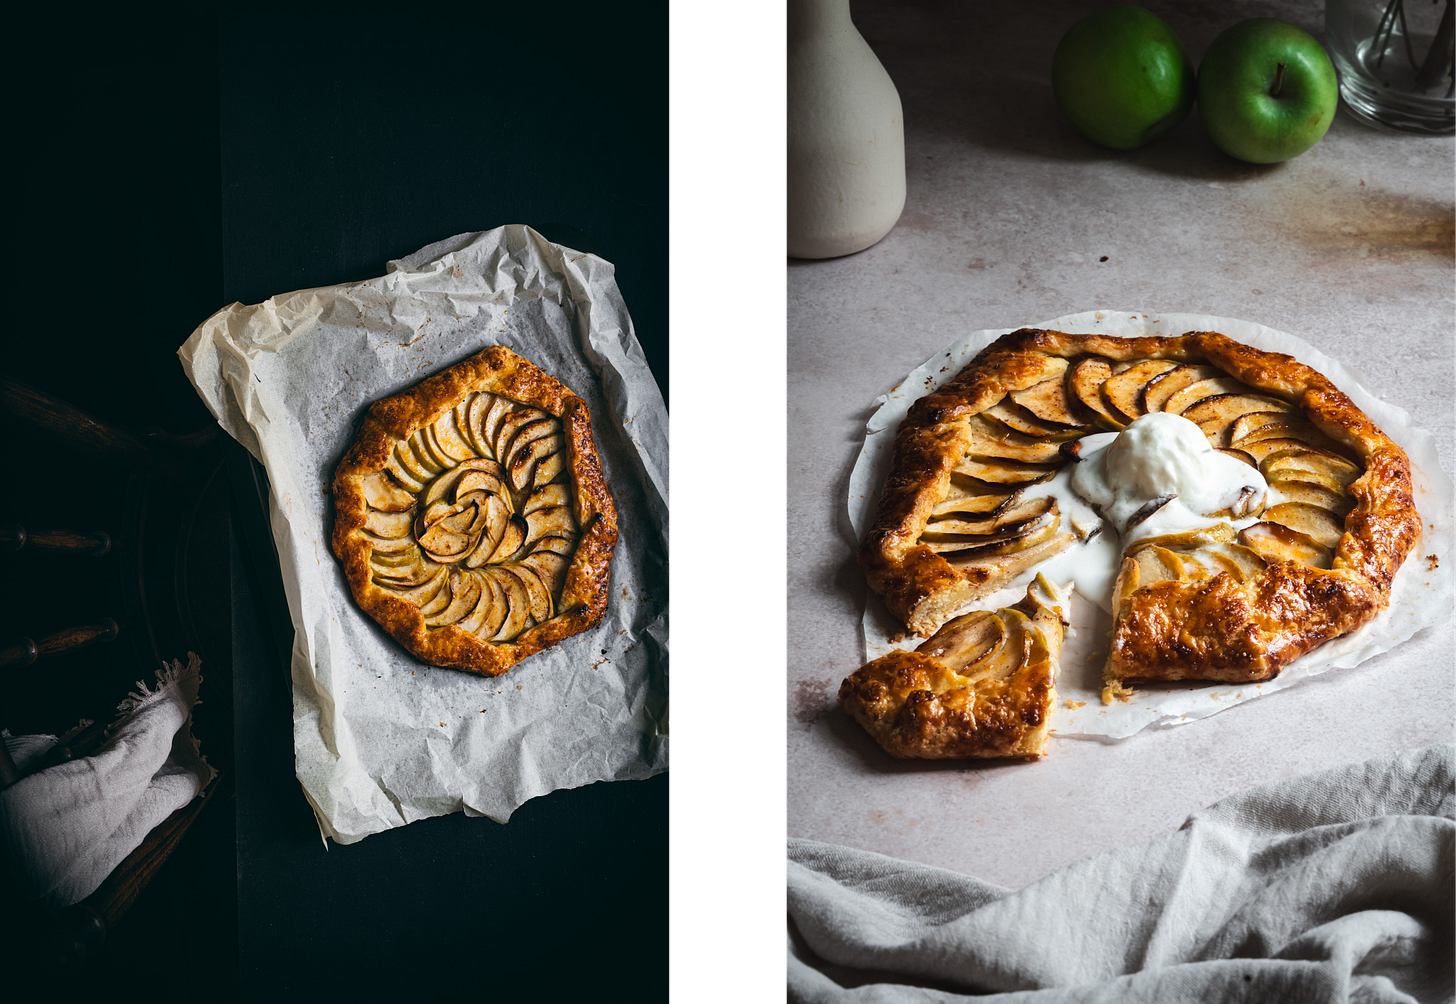
To create the moody feel you need to do the opposite: block some light. So instead of white boards you may use black ones, and go ahead and wear that dress! It is also useful to not only block the bouncing light to create deeper shadows but to also block part of the light source itself. Maybe you are able to reduce the amount of light by drawing the blinds or closing the curtains slightly. It may shock some to hear photographers block light rather than add it but it’s all about shaping it to your benefit.
This creates drama, contrast and very evocative feelings. If you are in a restaurant and want to take a photo of your spaghetti but you think the place is too dark, give it a shot! Maybe there’s the right amount to illuminate the pasta and leave most of the rest in shadow. You will have then a very deep and mysterious photo. This technique in art it’s called chiaroscuro and Caravaggio, Artemisia Gentileschi and Rubens were masters of it. I know you want to try it now…
To wrap it up
To wrap it up, here’s a summary of what we’ve been talking about:
Find a window and place the dish you want to photograph next to it.
Turn off all artificial lights around you.
Diffuse light if it’s too intense (sheer curtain, cheesecloth and clouds all work great!).
Use hard light for more dramatic and fun scenes.
Shape light to your advantage: block it a bit to create stronger shadows or reflect it back to the dish to brighten it up.
Extra tip: Beware of reflection on surfaces. If your granite counter is not matt, put a cloth on top. You don’t want other lights distracting from your dish!
Have fun experimenting and tag me in your photos so I can see them!




Gorgeous photos. I agree with this "window that gets light in from the side" - I've had great success with this lighting.