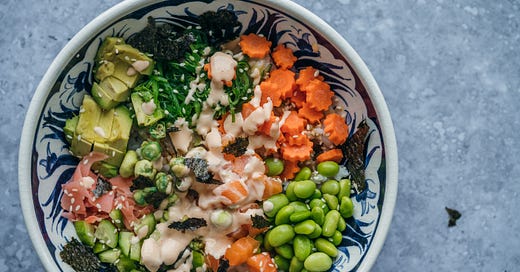
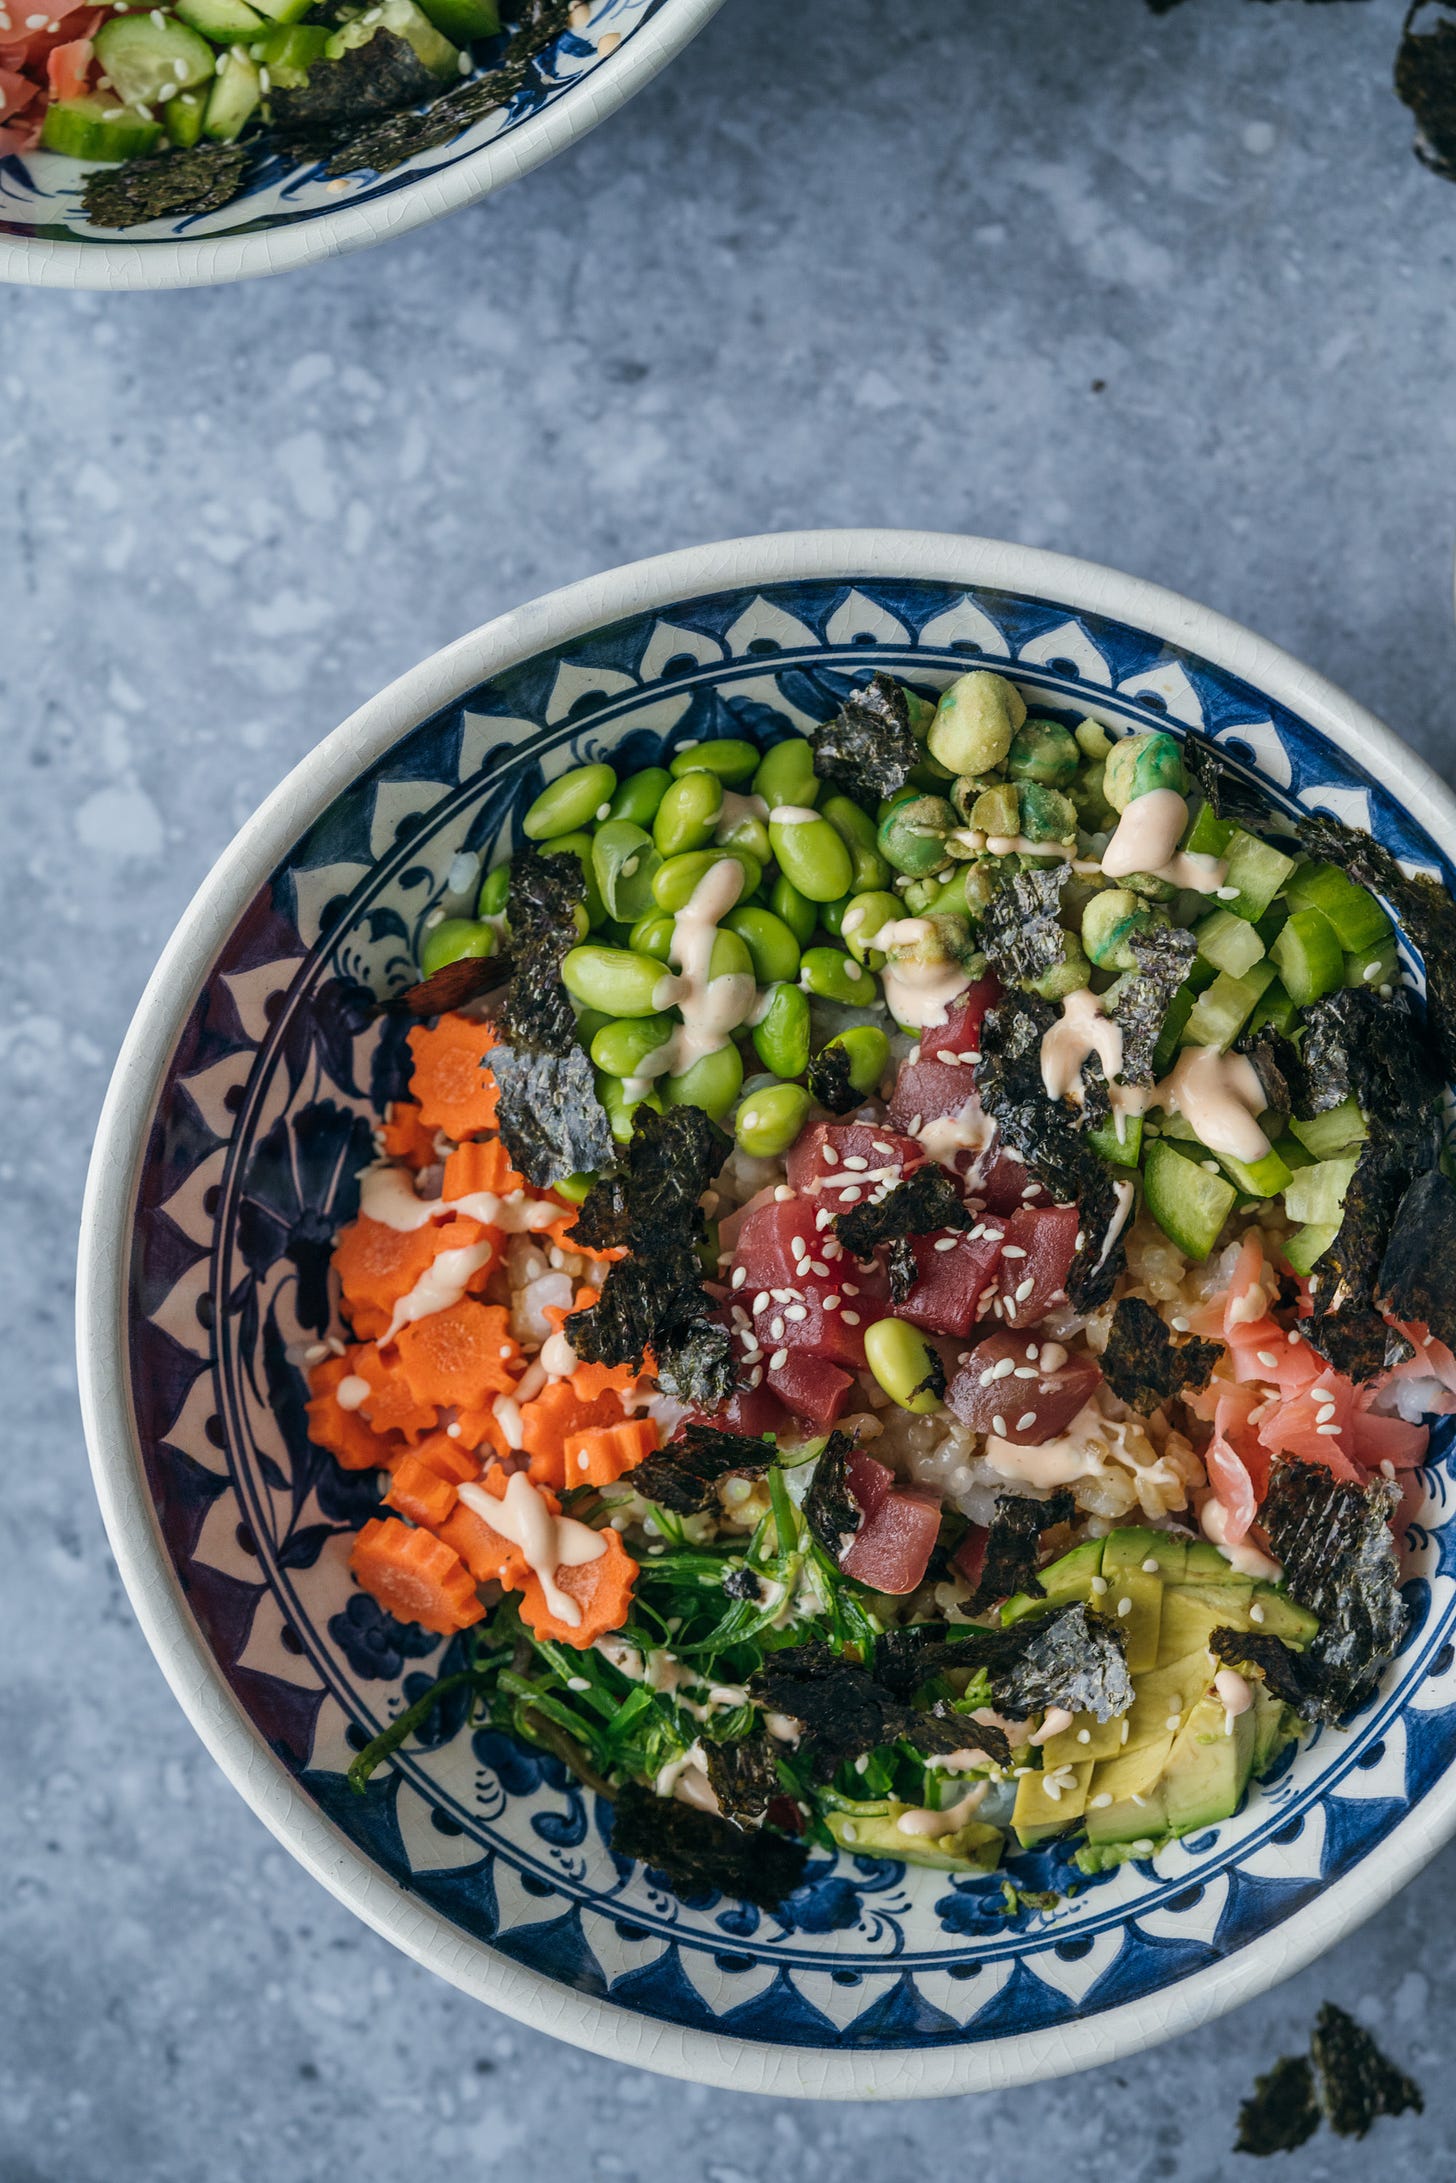
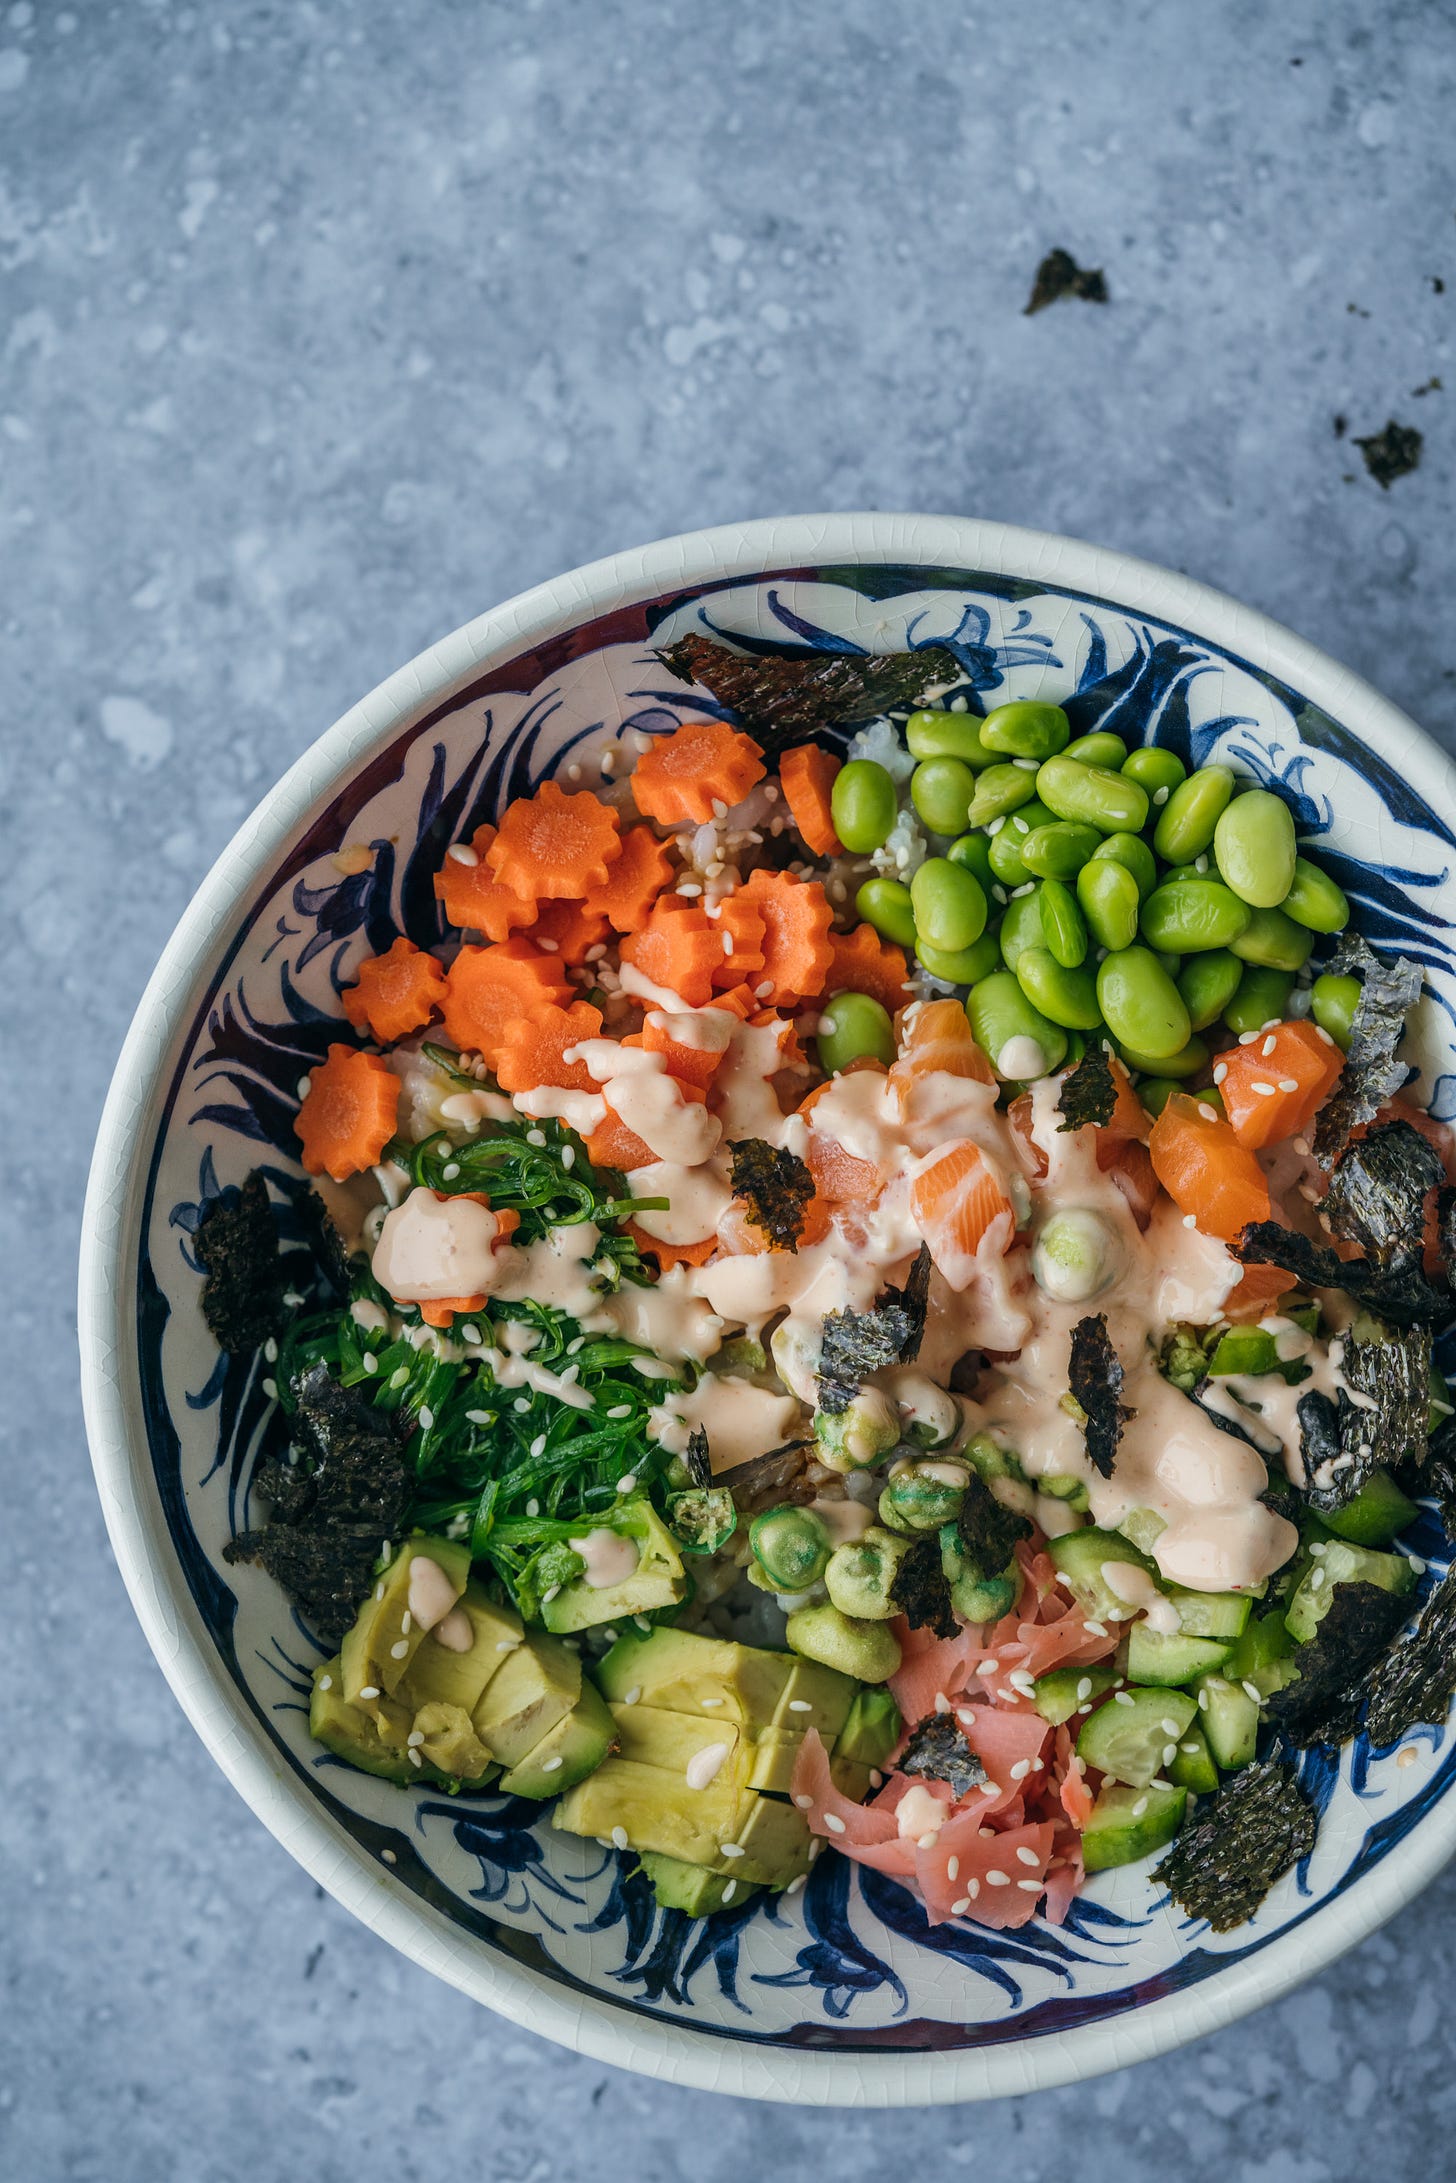
This recipe takes the familiarity of the dressed sushi-rice and adds the fun of the DIY to create a tailored dish you are going to love.
I really like making this on a weeknight to bring some excitement to the working days. As long as you have the main ingredients to cook the rice, it’s really easy and fast to make and you get a full meal within a bowl. Great for taking it to the couch and watch your favourite show with your significant other!
I have also made this very often when friends come over. I remember one time, when I was living in Budapest, my friends Paula and Anikó came for dinner and we had a great girls-night. I prepared the sushi rice and divided it into 3 bowls and then set up all the condiments and ingredients in different small plates for everyone to add what they fancied the most. It worked great as Anikó didn’t like spicy things, Paula preferred some tomatoes and I wanted to skip them. It felt a bit like setting up your own buffet table!
Some tips
As I mentioned, this is a DIY dish, which means you should add and skip whatever ingredient you like. I would follow the instructions to make the rice, though. But the rest, it’s up to you!
Some other ingredients you may want to add or swap for are: cherry tomatoes, mango, tofu, radishes, scallions…
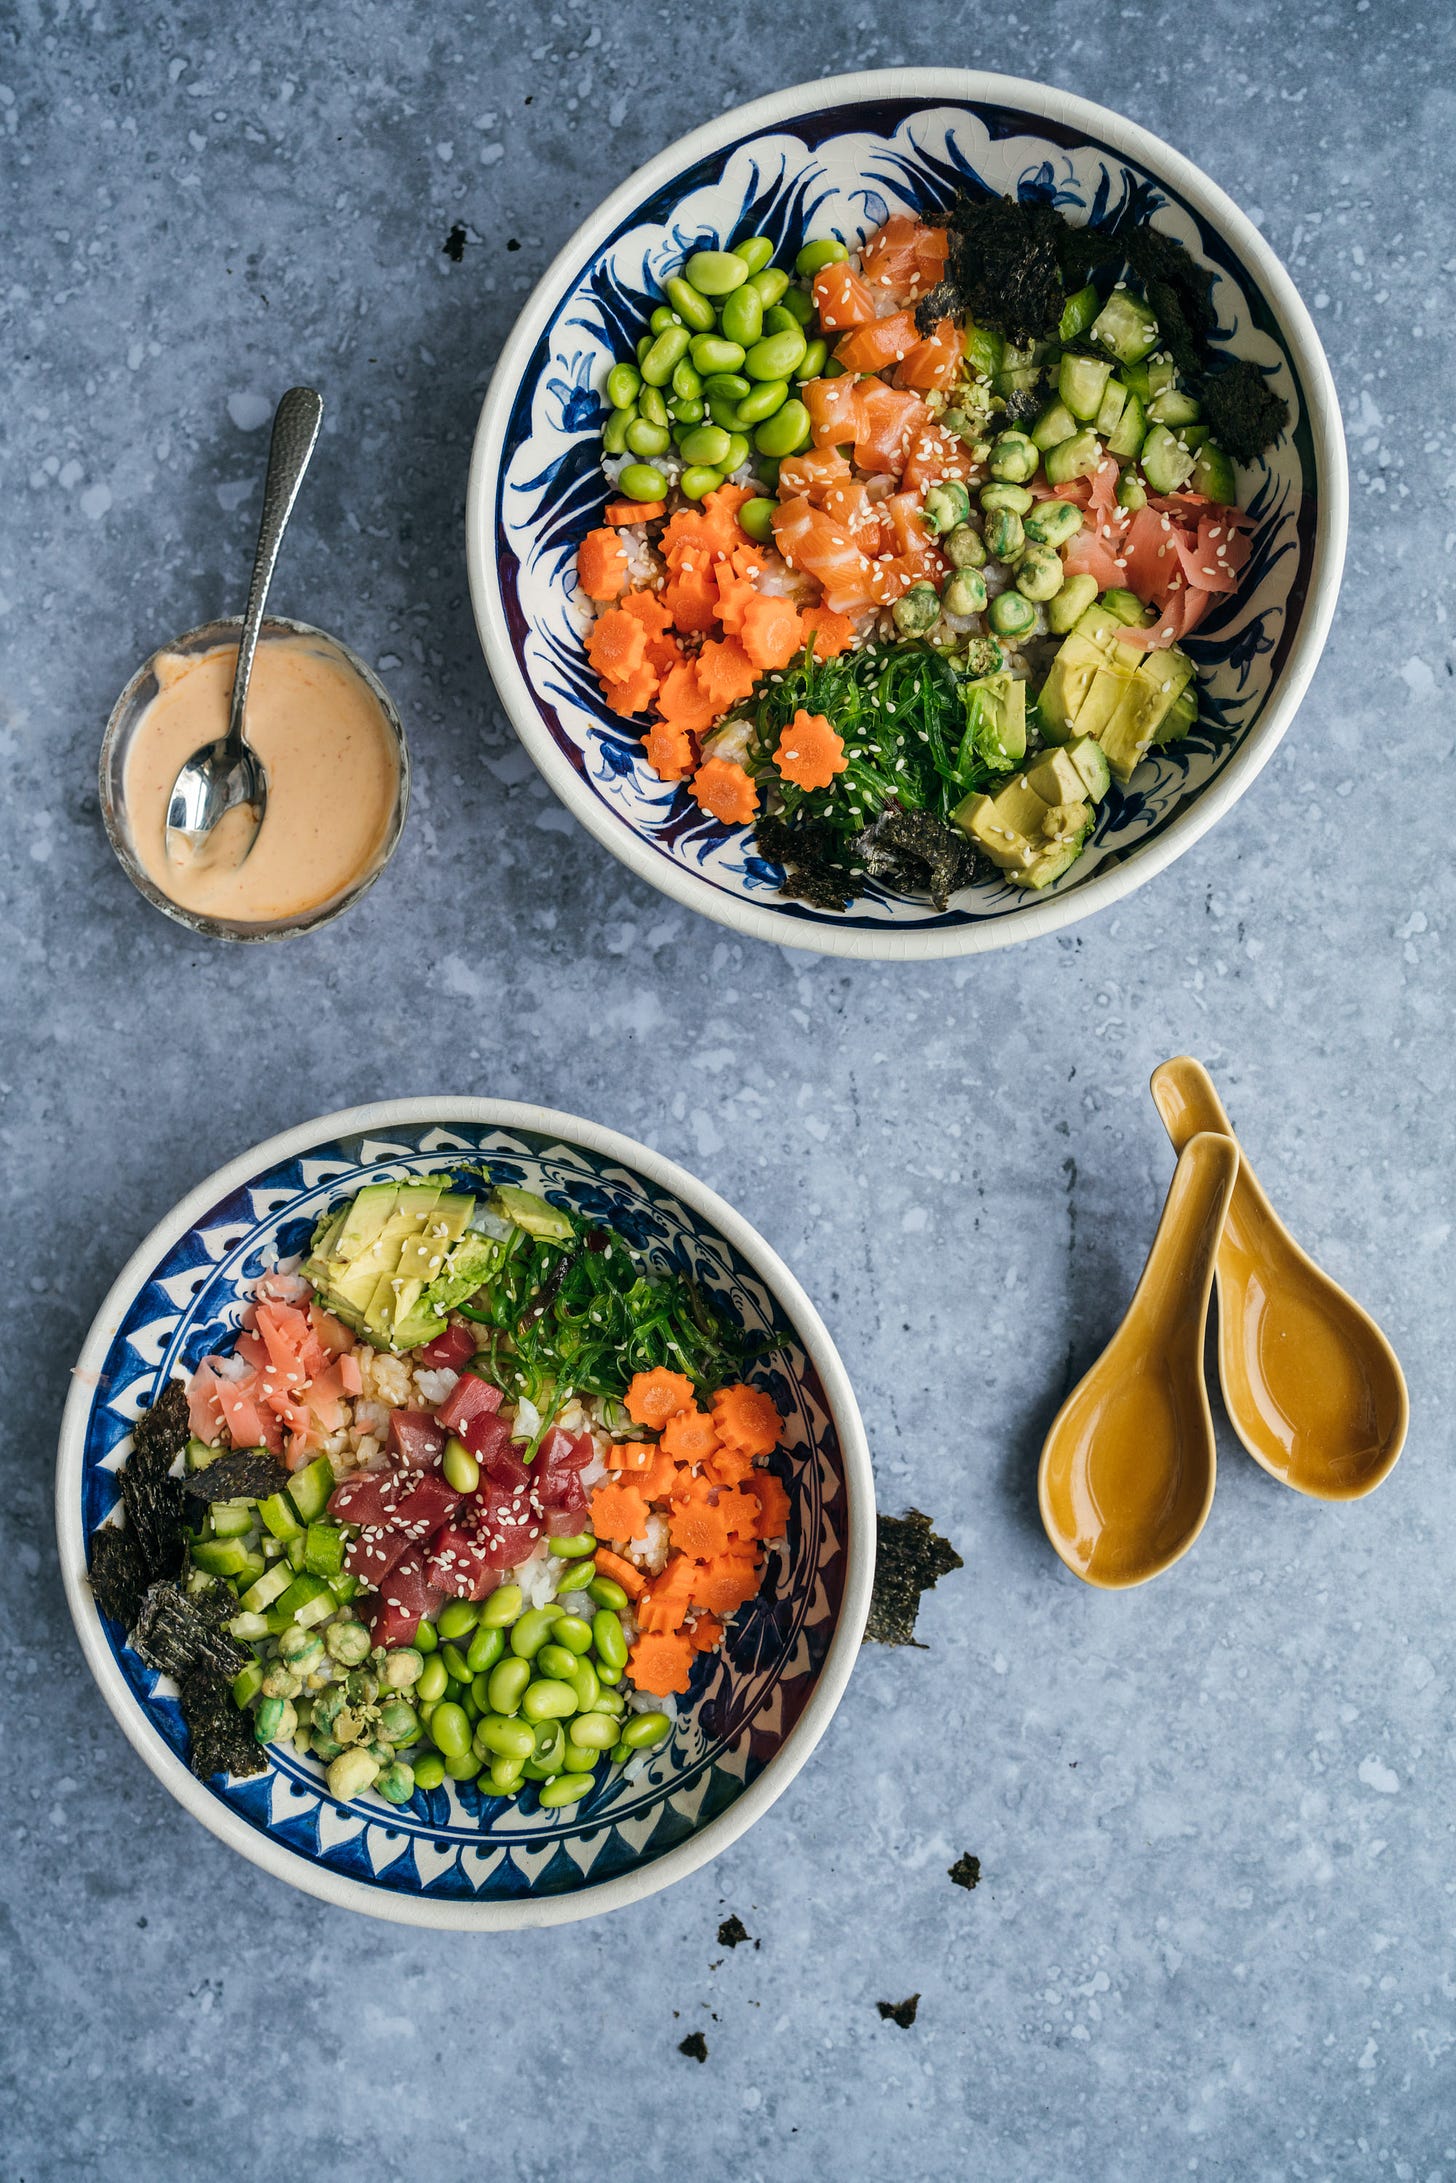
Here I have prepared two different bowls with raw tuna and raw salmon each. If you don’t fancy those or you cannot eat raw fish, you can substitute it for cooked prawns and even for crab sticks, which are also cheaper. Or go vegan altogether and add tofu instead!
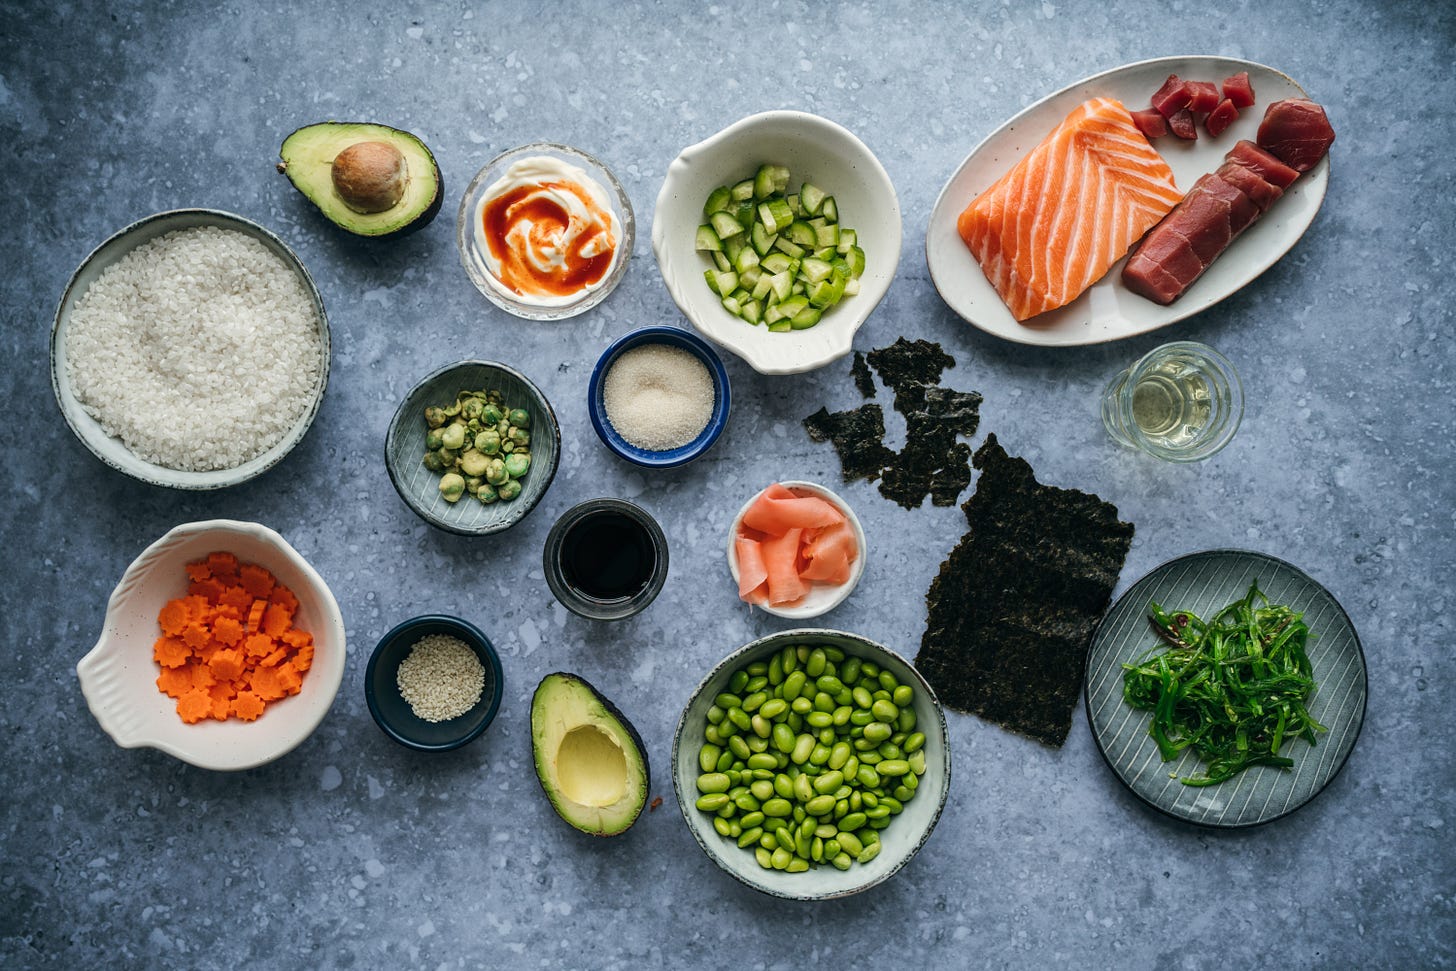
I think the clue for really tasty bowls is to keep in mind the balance between flavours and textures. I chose the ingredients below because I really like them but also because they bring something specific to the whole. The wasabi peanuts are not only spicy but also crunchy. The avocado brings creaminess. The raw carrot and cucumber add crunch and freshness. The wakame salad (seaweed) is slightly sweet with a mild salty aftertaste, reminding of the sea, where it comes from. And so on. So my advice is that you are mindful on what you incorporate to the mix so it all makes sense together.
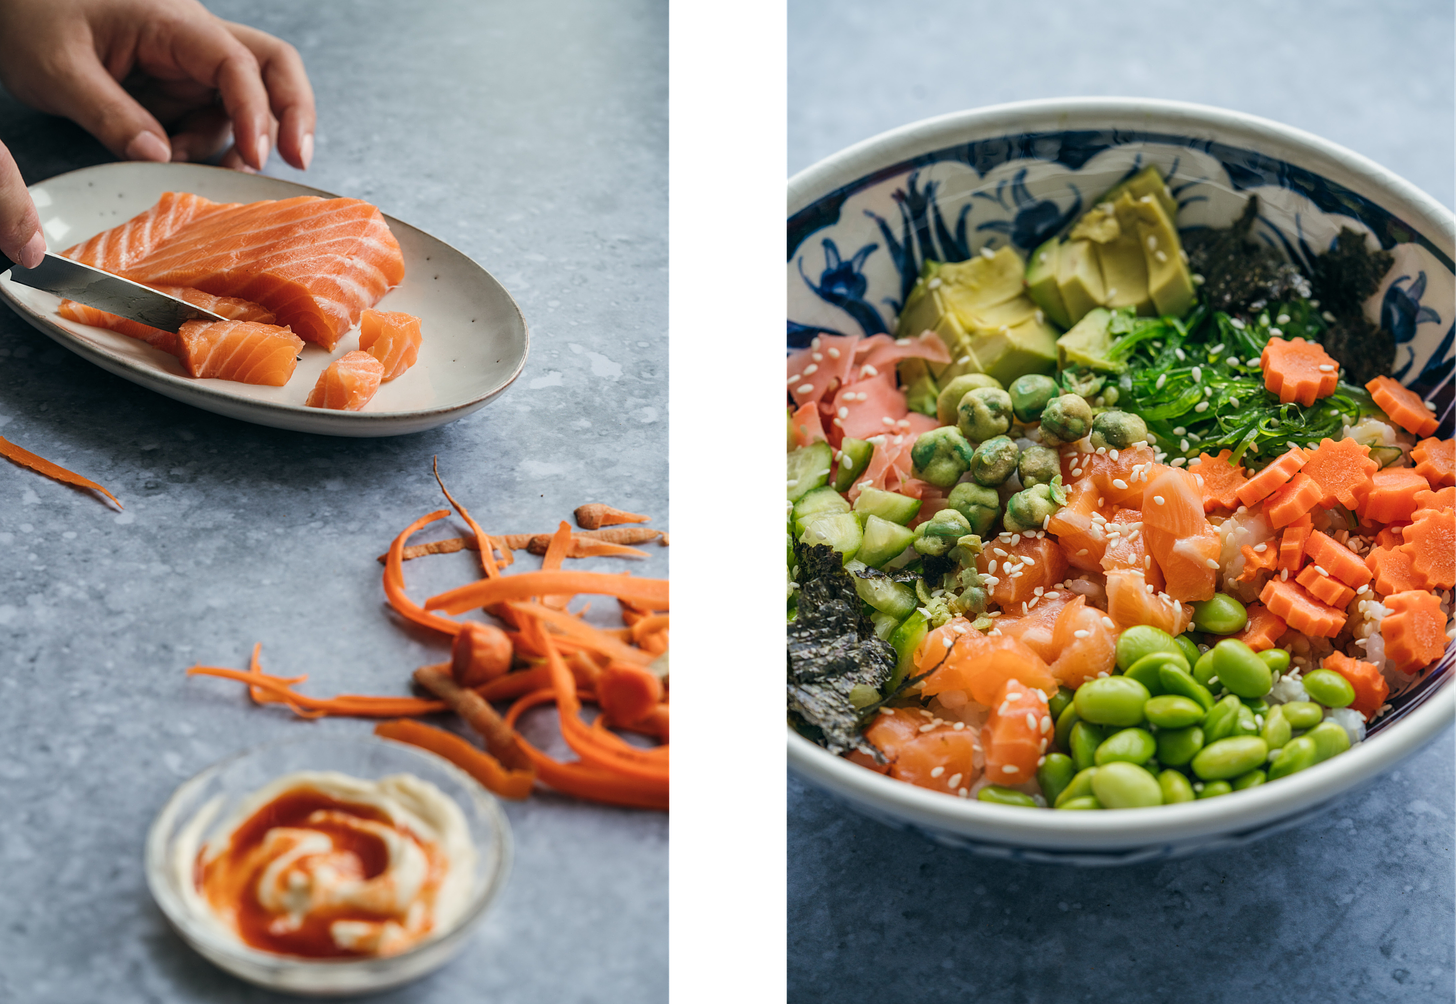
A final note is that if you can handle a bit of heat, don’t skip the sriracha mayo either. It’s a really nice final touch and binds everything together with its creaminess
Ingredients
1 cup dry sushi rice
3 tbsp rice vinegar, divided
1 tbsp granulated sugar
Pinch of salt
5 tbsp soy sauce
2 tbsp mayonaise
1 tbsp sriracha (hot sauce)
Tuna/Salmon sashimi (or other)
1 small cucumber, diced
1 carrot, chopped to sticks
3 tbsp wakame salad
1 avocado, diced
1/2 cup cooked edamame
1 tbsp pickled sushi ginger, chopped
1 tbsp wasabi peanuts
1 nori sheet, crumbled
Sesame seeds, for garnish
Instructions
Cooking time: 20 minutes
Servings: 2
Place rice in a fine mesh strainer and rinse under cold water until water runs clean. Tap bottom of the strainer until drained.
Transfer rice to a medium saucepan with 2 cups of water. Bring mixture to a full boil, then reduce heat to low, cover with lid and simmer for about 6 minutes to until rice has incorporated most of the water. Keep on mixing often so the rice doesn’t stick to the bottom of the pan and burn! Remove from heat, keep covered and let rest for 10 minutes.
While the rice cooks, in a small saucepan combine 2 1/2 tbsp of the rice vinegar with the sugar and salt. Heat and whisk until dissolved (it’s very fast so don’t take your eyes off it!). Remove from heat, let cool and pour over rice until it rests.
In a small mixing bowl whisk together soy sauce and remaining 1/2 tbsp vinegar, set aside.
Prepare all ingredients and keep separate to divide into sections over rice.
Mix mayo and sriracha in a small bowl.
Prepare rice bowls: rice layer + ingredients on top in different sections (except nori sheet) + soy sauce mixture over + mayo sauce over + sesame seeds.
You can also bring all the ingredients in separate bowls and let people add what they wish. Whichever way you prefer to serve the bowls, you should keep the nori sheets aside and add them last as they lose the crispiness when wet.
Coming up
Next week’s newsletter will be about how to take beautiful photos like these ones without any need of professional equipment. Just by understanding how to use natural light to your advantage. Stay tuned!


